How to Choose the Best Epoxy Stamping Tool in 2026?
Choosing the best Epoxy Stamping Tool in 2026 requires more than comparing prices or polished product photos. The global epoxy resin market continues expanding. Grand View Research projects a compound annual growth rate of about 7% through 2030. MarketsandMarkets also forecasts strong demand from electronics, automotive, construction, and advanced composites. That growth raises tooling expectations. A tool must deliver clean impressions, stable dimensions, and repeatable release performance.
Edward M. Petrie, author of Epoxy Adhesive Formulations, offers a useful principle: “The performance of an adhesive system depends on processing conditions as much as formulation.” The same logic applies to stamping tools. Tool material, surface finish, pressure control, and curing temperature can change the final result. A rough surface may leave visible drag marks. Uneven pressure can create thin edges or trapped bubbles. A handle that feels comfortable may still produce inconsistent force.
Look closely at real workshop evidence. Check the tool after repeated cycles, not after one successful sample. Ask whether the manufacturer publishes hardness, temperature resistance, and dimensional-tolerance data. ISO 9001 certification can support process confidence, but it does not guarantee perfect tooling. That distinction matters.
Some choices remain imperfect. A premium tool may be excessive for short production runs. A cheaper tool may cost more after rework, cleaning, and rejected parts. This guide examines those trade-offs carefully. It focuses on practical experience, measurable specifications, and reliable selection criteria for buyers choosing an Epoxy Stamping Tool in 2026.
Understanding Epoxy Stamping Tools and Their Main Uses
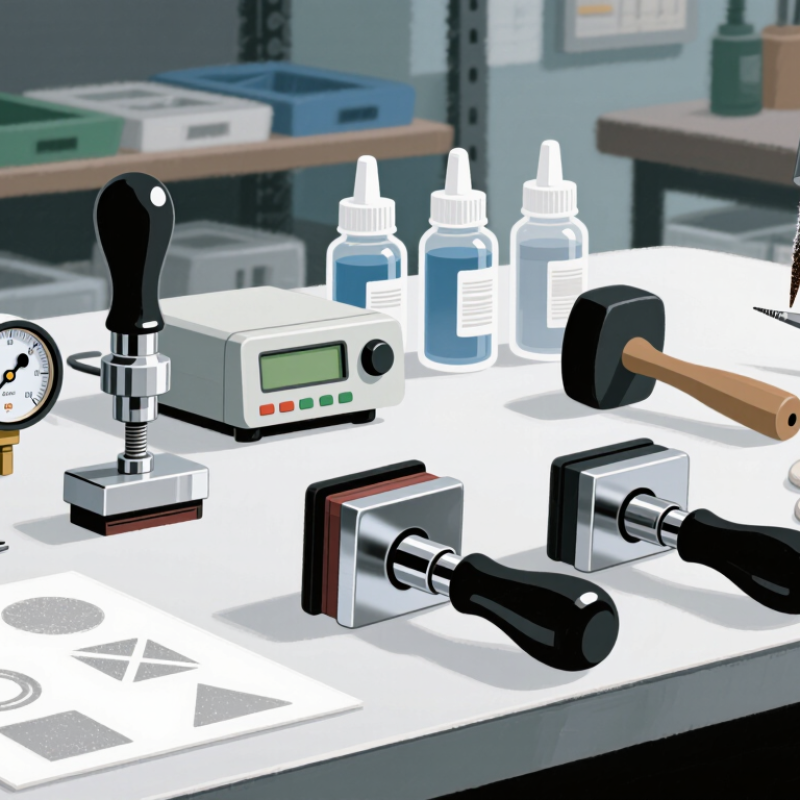
Choosing the best epoxy stamping tool in 2026 starts with understanding its job. These tools transfer texture, lettering, or repeated patterns onto partially cured epoxy. Common types include silicone stamps, flexible texture mats, embossing plates, and small pattern rollers. Silicone works well on resin surfaces because it releases cleanly when the epoxy reaches a firm, rubbery stage. Rigid plates create sharper details but need more careful pressure.
Market demand supports this wider use. Fortune Business Insights valued the global epoxy resin market at about USD 10.52 billion in 2023 and projected growth through 2032. That expansion includes decorative surfaces, crafts, coatings, and repair applications. The tool should match the project, not the trend. A small silicone stamp suits jewelry or trays, while a larger flexible mat works better for panels and furniture.
In practice, timing matters more than the stamp itself. Test on a leftover resin sample first. If the surface stretches, wait longer. If it feels hard, the impression may become weak. Keep the stamp clean, apply even pressure, and avoid deep designs that trap air. I have found that shallow patterns often look more professional after curing. No tool is perfect. Some textures lose detail, especially when resin thickness changes. The ASTM International standard ASTM D638 also shows why material testing matters: cured plastics can differ greatly in strength and flexibility. Select tools with clear dimensions, heat resistance, and repeatable results, then inspect every finished impression under angled light.
Matching Tool Design to Epoxy Type and Project Requirements
How to Choose the Best Epoxy Stamping Tool in 2026?
Choosing an epoxy stamping tool starts with the resin, not the handle. Deep-pour epoxy needs a broad, stable tool with gentle pressure. A narrow stamp may trap heat and distort the surface. Fast-curing tabletop epoxy requires quicker control and a clean release edge. Silicone tools usually work well, but their flexibility can soften fine patterns. Harder polyurethane tools preserve sharper details on fully cured surfaces.
Match the tool design to your project’s texture and scale. For lettering, choose a shallow face with a firm grip. For stone or wood effects, select deeper relief and rounded edges. I once used a rigid stamp on a thin coaster. The pattern looked sharp, but the piece cracked during removal. That mistake changed my testing process. Now I check a small sample first.
Timing matters as much as material. Press too early, and epoxy may cling around the pattern. Press too late, and the surface may resist impressions. Follow the resin manufacturer’s working-time guidance, then test with light pressure. Clean the tool before each use. Even a tiny cured flake can mark a glossy panel. Tool quality also includes safe handling: inspect the surface, avoid damaged edges, and store it flat. I still find some tools perform differently between batches. That uncertainty deserves attention.
Comparing Material Quality, Size, Texture, and Ease of Use
How to Choose the Best Epoxy Stamping Tool in 2026?
Material quality should guide your decision before appearance. A reliable tool feels dense, flexible, and smooth at the edges. Silicone often releases cured epoxy easily, but softness varies between products. Check whether the material resists tearing, staining, and repeated contact with resin. I inspect the surface under angled light before every project. Tiny cuts can create unwanted lines in the finished piece. My first choice was always the softest tool. That was not always wise. Excessive flexibility can distort a geometric pattern during pressing. Ask for usage guidance and, when possible, test a small amount of epoxy first.
Size should match both the workpiece and your pressure control. A tool that is too small may leave visible pattern breaks. One that is too large can become difficult to align. Texture also needs careful judgment. Deep grooves create stronger details, but they may trap air bubbles and require extra tapping. Fine textures look elegant on thin coatings, yet they can disappear on rough surfaces. I prefer a medium-depth pattern for most craft applications. Still, the ideal choice depends on resin thickness and curing behavior. Record your results.
Ease of use affects consistency more than many buyers expect. Look for a stable grip, clear edges, and a surface that cleans without aggressive scraping. A tool should sit flat and lift without dragging the epoxy. Warm water may help with residue, but always follow the material’s care instructions. Clean it immediately. A practical tool saves time, reduces accidental marks, and remains predictable across repeated projects.
Checking Safety, Durability, Cleaning, and Storage Features
Choosing the Best Epoxy Stamping Tool in 2026
A reliable epoxy stamping tool should protect your hands, workspace, and finished surface. Look for a comfortable grip, smooth edges, and a material that resists epoxy bonding. Sharp corners can tear gloves or leave unwanted marks. Safety comes first.
Work in a ventilated area and wear suitable gloves and eye protection. A durable tool should stay firm under pressure without bending. I have found that lightweight tools reduce wrist fatigue during repeated stamping. However, very light plastic can feel unstable, so balance matters. Check the handle before buying. Small cracks often appear after cleaning or heavy use.
Tips: Choose a non-porous surface. Wipe it before the epoxy hardens. Use a soft cloth and mild cleaner, not abrasive pads. Dry the tool completely. Store it in a cool, shaded container away from dust and direct sunlight. Do not place heavy objects on it, because slight warping can affect patterns.
A good storage case is useful, but not essential. A sealed box may trap moisture if the tool is wet. I once stored a cleaned tool too quickly, and residue hardened around its edges. That mistake was avoidable. Inspect the stamping face before every project. Even a tiny cured fragment can create an uneven impression. Product instructions should guide cleaning limits, because materials respond differently to solvents and heat.
Selecting the Best Tool Through Testing, Reviews, and Budget Analysis
How to Choose the Best Epoxy Stamping Tool in 2026?
Selecting a reliable epoxy stamping tool requires more than attractive specifications. Test the tool on a small, prepared epoxy sample before trusting it on a large project. Check whether the pattern transfers evenly, especially around corners and narrow edges. A comfortable grip also matters during repeated pressing. My first comparison was flawed. I tested only one curing stage, which produced misleading results.
Use the same resin, temperature, pressure, and curing time for every tool. Record release quality, surface detail, cleaning effort, and visible distortion. That test exposed weaknesses. Some tools created sharp patterns but trapped epoxy in tiny grooves. Others released cleanly but produced softer details. A simple scoring sheet improves consistency and makes personal impressions easier to verify.
Reviews can reveal long-term issues, including handle cracks, difficult cleaning, or inconsistent sizing. Read several detailed reviews, not only short ratings. Not every review helps. Look for comments supported by photographs, project measurements, or repeated use. Then compare the purchase price with replacement parts, cleaning supplies, and wasted epoxy. A cheaper tool may cost more after several failed impressions. Measure twice. Spend once, when possible. Still, a moderately priced tool can be sensible for occasional work if testing confirms dependable results.